How To Set Up an RV After Arriving at a Campsite
The thrill of pulling into a new campground often mixes with a slight sense of urgency to settle in before nightfall. With an RV, you have all of your belongings neatly tucked away, but there are still several things to take care of before you can unwind.
There’s no need to stress! Switch from a driving mindset to a happy camper when you learn how to set up your RV in record time.
Surveying the Site Upon Arrival
Before you even think about backing in, stop the vehicle and get out to look at your assigned spot. There could be low-hanging branches, large roots, or oddly placed picnic tables blocking the area.
Next, check the location of the utility pedestal relative to the RV’s connections. Some old campgrounds place water and electric posts at the rear of the site or shared between two spots, which might require extra hose or cord length. Identifying this now prevents the frustration of parking perfectly only to find your power cord falls two feet short.
Look for the most level area on the parking pad. While leveling blocks fix minor tilts, starting on relatively flat ground makes the entire setup process easier and more stable. Aim to position your rig so that slide-outs have ample clearance to extend without hitting trees or utility posts.
Securing the Vehicle
Back into the spot and decide if you’re happy with the RV’s placement. Now, you can check the side-to-side level before unhitching or deploying jacks.
If the RV leans to the left or right, place leveling blocks or boards under the tires on the low side. Drive onto them slowly and check your level again. Getting the rig level side-to-side is essential for the proper operation of absorption refrigerators, which rely on gravity for cooling. It also ensures that doors inside the camper stay open or closed as intended rather than swinging wildly.
Secure the wheels immediately. Place heavy-duty chocks tightly against the front and back of the tires to prevent rolling. For towable RVs, disconnect from the tow vehicle safely. Unhook the safety chains, the breakaway cable, and the electrical plug, then drive the tow vehicle out of the way.
Leveling Front-to-Back and Stabilizing
With the vehicle secure, focus on leveling from front to back. Stability eliminates that seasick feeling when someone walks across the RV floor.
Extend the stabilizer jacks until they make firm contact with the ground or jack pads. Remember that these jacks effectively stop bounce, but they do not lift the weight of the RV. Over-cranking them can damage the frame or the jacks themselves.
Connecting to Shore Power
Electrical connections demand respect and a specific order of operations to keep your RV’s sensitive electronics safe. Always verify that the campground pedestal breaker sits in the off position before plugging anything in. This prevents dangerous arcing and protects plugs from burn marks.
Using an Electrical Management System
Plug a surge protector into the pedestal first to analyze the power source for common faults like open grounds, reverse polarity, or high voltage. Once the device indicates the power is safe, plug the RV’s shore power cord into the surge protector. Flip the breaker on, and you should hear the microwave beep or see the air conditioner control panel light up.
Establishing a Clean Water Supply
Water quality varies drastically from one campground to another, so filtering your water is always a smart move.
- Connect a water pressure regulator to the campsite spigot to protect your plumbing from high-pressure spikes.
- Attach a drinking-water-safe hose to the regulator.
- Install an inline water filter between the hose and your RV’s city water inlet.
- Turn the spigot on slightly to flush air and loose sediment out of the hose before connecting it to the rig.
- Tighten the connection to the RV inlet and open the spigot fully.
Check all connections for leaks immediately. A small drip at the spigot can create a muddy mess at your campsite over the course of a weekend. If the flow inside seems weak, check the screens in your hose and faucet aerators for debris. Sometimes, fixing low water pressure in an RV involves nothing more than cleaning out sand or grit trapped in these small mesh filters.
Setting Up the Sewer System
Connecting the sewer hose is a task most campers prefer to take care of as quickly as humanly possible. Remove the cap from the campsite sewer inlet and the RV’s waste outlet. Attach a clear elbow to the outlet to see that the tanks are clean later on. Connect the sewer hose securely to the elbow and run it to the ground inlet.
Use a sewer hose support to create a gradual downhill slope from the RV to the sewer hookup. The gradient keeps waste from pooling in the hose and helps solids move efficiently when you dump the tanks.
Keep the black tank valve closed until the tank fills up or you are ready to depart. Leaving it open allows liquids to drain away while solids pile up.
Extending Slide-Outs and Awnings
Check the interior for any cabinet doors or loose gear that might have shifted during travel and could block the slide-out. Press the button to extend the rooms, listening for any smooth, consistent motor sounds.
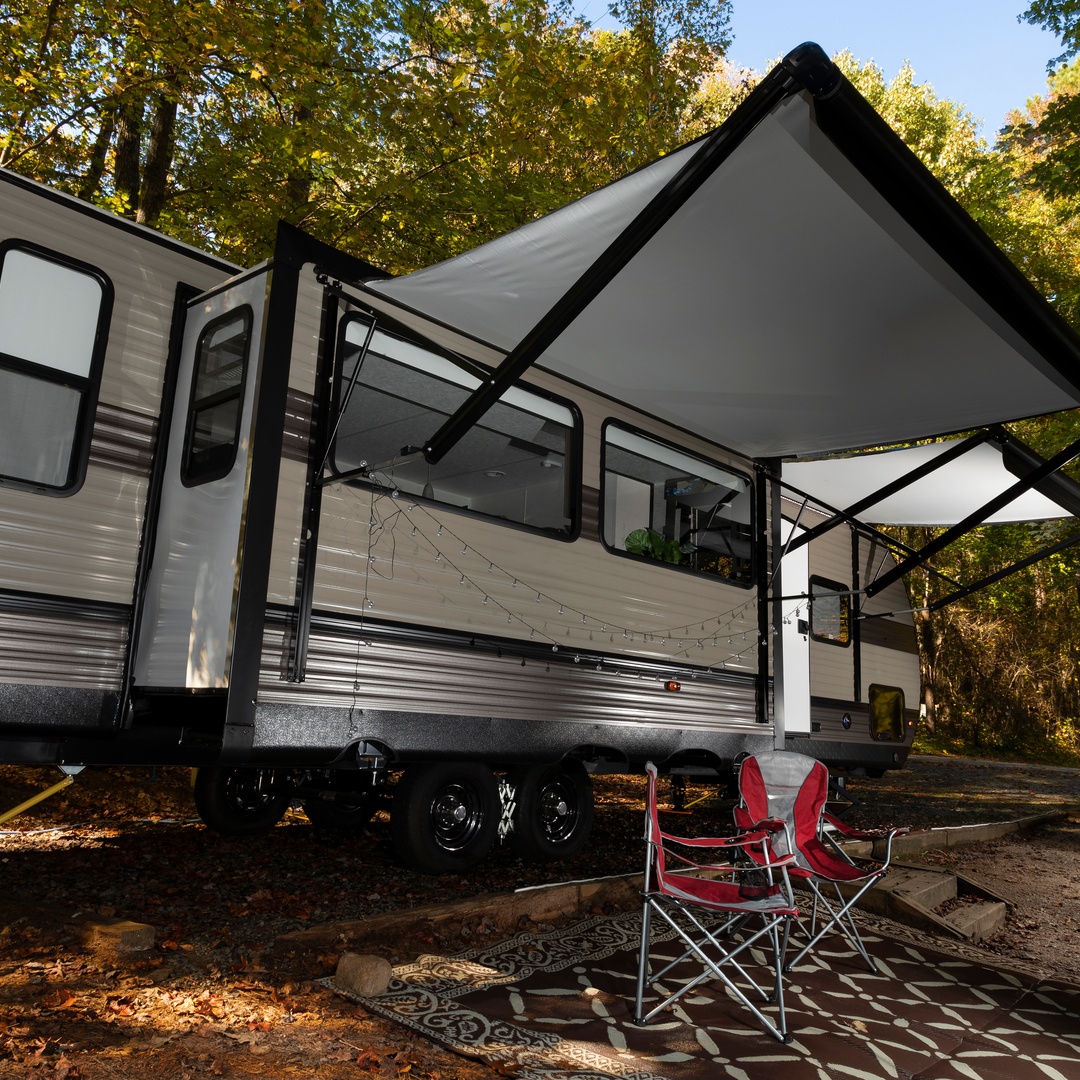
Once the slides are out, extend your awning to define your outdoor patio space. Secure the awning arms and adjust the pitch if rain is in the forecast so water runs off easily. Always act with caution regarding the wind; if gusts pick up or you plan to leave the campsite for a few hours, retract the awning to prevent expensive damage.
Setting Up the Outdoor Living Area
The space under your awning serves as your living room for the duration of the trip. Lay down an outdoor rug to trap dirt and keep the interior of your RV cleaner. Unfold camp chairs and set up a small table for drinks or snacks.
If you travel with a portable grill or griddle, set it up on a stable surface away from the RV wall. Connect it to your propane supply so it is ready for dinner. Unlock bikes or kayaks if you brought them, organizing your gear so it is accessible but secure.
Preparing the Interior for Living
Now that the exterior utilities are secure, it’s time to focus on the features that will make you feel at home throughout the night. Step inside and switch your appliances to campground mode. If you have an absorption refrigerator, switch it from auto or gas to AC to save your propane. Turn on the electric side of your water heater if available, giving you hot water without burning gas.
Organizing the Space
You can finally relax after arriving at a campsite and restoring order to the RV’s living area. Set up the coffee maker, put toiletries in the bathroom, and arrange pillows on the sofa. If you used tension rods or nonslip liners to keep items in cupboards secure, remove them or set them aside. A tidy interior immediately makes the space feel like home and lowers your stress levels.
Feel at Home While Camping
The transition from road warrior to relaxed camper happens smoothly when you know exactly what needs to be done. With the chores finished and the campfire crackling, you are finally free to enjoy the great outdoors.
Image Credentials: By Guy Sagi, File #394135507